How to work with an Extension Object

In this article, Victor share with us how to work with Extension Objects in Node-RED.
Extension Objects are a powerful feature in OPC UA that allow you to define custom data structures.
They are often used to encapsulate complex data types that do not fit into the standard OPC UA data types.
OPCUA For NodeRed provides a way to work with these Extension Objects in a powerful way.
This tutorial will guide you through the process of reading and writing Extension Objects in Node-RED using the OPCUA Client nodes.
Get the extension object structure
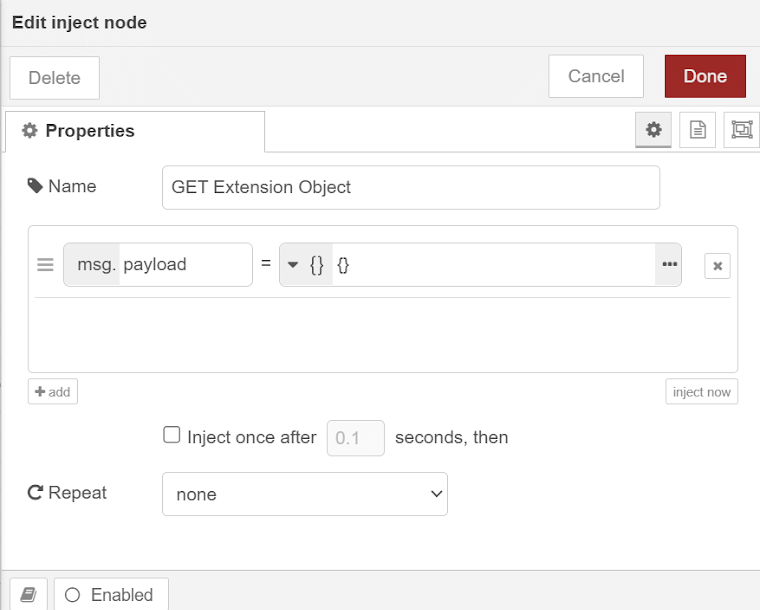
First, we want to see the shape of the Extension Object. For this we Create an inject node, delete the topic and select JSON object as payload. Here we just write to pass an empty object.
Then we place an OPCUA Client Extension Object node and select the Object from the DataType list. For Siemens you can find them for example under “SimaticStructures”.

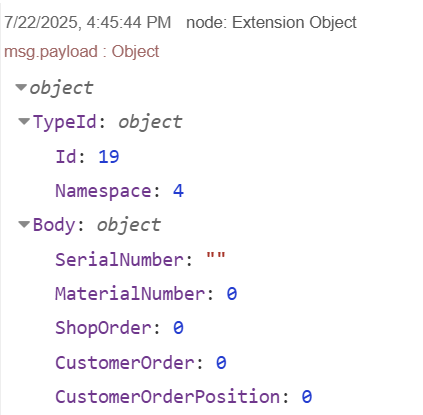
Now you can place a debug node, deploy, click the inject node and lookup the Object in the debug area.

This is the Response:
Manipulate the values of the Extension Object
After knowing the structure of the Extension object (see step before) we can now work with changing the data.
Therefore, we create an inject node, delete the payload and the topic and place a function node behind.
Here we copy and paste the Extension object from the step before and shape it a little bit to make it easier to read.
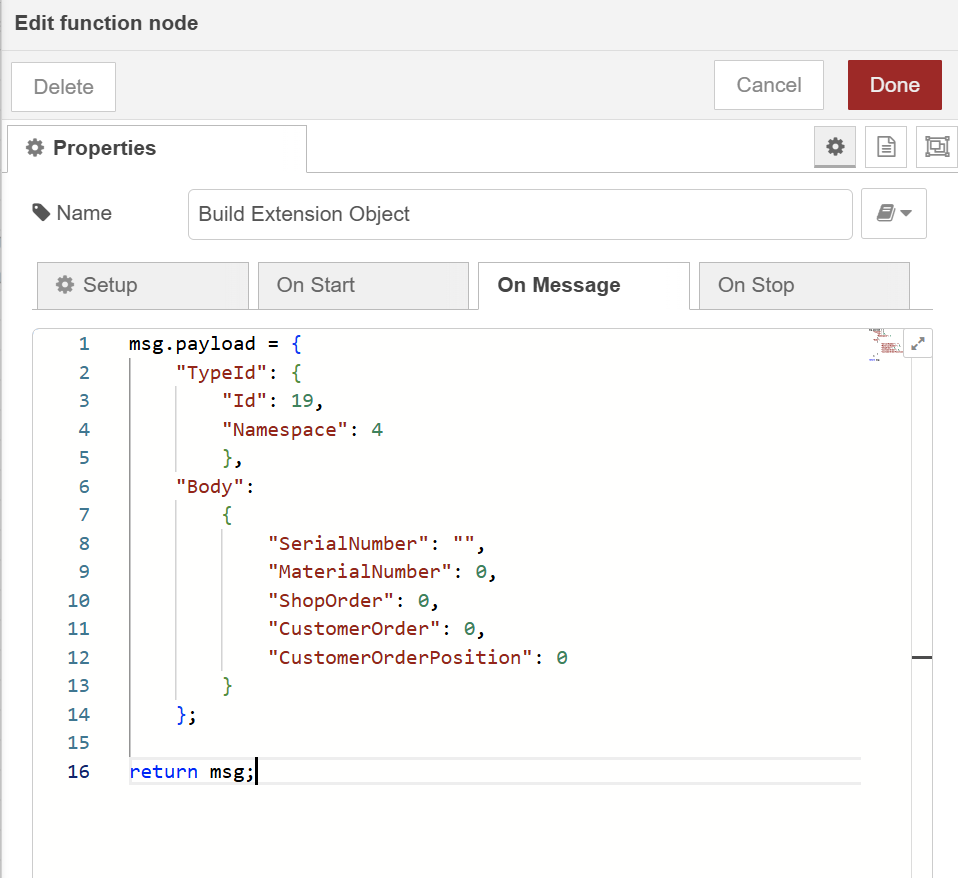
Now you can change the values of one or all properties in the Body. Make sure to keep the right data type!
Now we place an OPCUA Client Write node after the function and select the node we want to write our Object.
Now you can manipulate the extension object as you like!
Place a debug node at the end, deploy and click inject and see the magic happen ☺